White Velvet Cake with Vintage Piping Recipe
Prepare to fall in love with the whimsical world of White Velvet Cake with Vintage Piping, a showstopping dessert that elegantly marries nostalgic charm and dreamy, tender crumb. Each bite is a celebration of melt-in-your-mouth layers, creamy buttercream, and those signature pastel piping decorations that bring a touch of sophistication and flair. Whether you love baking for the art of it or are simply craving something both gorgeous and gratifying, this cake will turn every occasion into a stunning memory.
Ingredients You’ll Need
Creating the perfect White Velvet Cake with Vintage Piping is all about choosing simple, reliable ingredients and letting them shine. From cloud-soft cake flour to the pastel-hued buttercream, each element matters and plays a unique role in flavor, texture, or visual appeal.
- Cake Flour: This finely-milled flour creates a super tender, velvety crumb that truly sets this cake apart from the ordinary.
- Cornstarch: A little cornstarch lightens the cake even further, giving each bite a soft, melt-away texture.
- Baking Powder: Provides gentle lift, ensuring your layers are fluffy but never dry.
- Baking Soda: Works with the buttermilk to create a perfectly risen, balanced cake.
- Salt: Just a pinch balances the sweetness and amplifies every other flavor.
- Butter (softened): Room-temperature butter gives the cake its signature richness and delicate crumb.
- Sugar: Sweetens the cake and helps with the airy, fine texture.
- Egg Whites: Only the whites keep the cake brilliantly white and ultra-soft.
- Buttermilk: Adds a subtle tang and moisture while reacting with the baking soda for lift.
- Vanilla Extract: The classic flavor boost every white velvet cake deserves.
- Buttercream for Piping (tinted in pastels): Have fun! Soft pinks, blues, or mint create that dreamy vintage look.
How to Make White Velvet Cake with Vintage Piping
Step 1: Prep the Pans and Oven
Begin by preheating your oven to 350°F (175°C). Generously grease two 8-inch round cake pans, ensuring you cover the corners and sides. This little moment of attention truly ensures your gorgeous cake layers will release like a dream and keep their perfect edges for piping later.
Step 2: Mix the Dry Ingredients
In a medium bowl, whisk together the cake flour, cornstarch, baking powder, baking soda, and salt. This helps distribute the leavening agents evenly and gets rid of any lumps that could affect the cake’s texture. It sets the foundation for that coveted lightness in every slice.
Step 3: Cream Butter and Sugar
In a large bowl, beat the softened butter and sugar together until pale and fluffy—about 3-4 minutes on medium speed. Don’t rush this part; a well-creamed base works wonders in creating that luxurious, delicate structure that makes a White Velvet Cake with Vintage Piping irresistible.
Step 4: Add Egg Whites
Add the egg whites one at a time, beating well after each addition. This method keeps the batter smooth and ensures each egg white is fully incorporated, maximizing the cake’s classic bright white color and tender crumb.
Step 5: Alternate the Dry and Wet Ingredients
Alternate adding the dry ingredients and the buttermilk, starting and ending with the dry mixture. Pour in a third of the flour mixture, mix gently, then half of the buttermilk, and repeat. Finally, add the vanilla extract. This alternating technique makes the batter satiny and prevents overmixing, ensuring your cake is neither dense nor tough.
Step 6: Bake the Cakes
Divide the batter evenly between your prepared pans, smoothing the tops with a spatula. Bake for 25-30 minutes until the cakes are just golden and a toothpick inserted comes out clean. The aroma at this point is an absolute delight! Allow the layers to cool in the pans for 15 minutes before turning them out onto a rack to cool completely.
Step 7: Layer and Frost
Once completely cooled, spread a thick, even layer of buttercream over the first cake layer, then gently set the second layer on top. Coat the entire cake with a thin crumb coat and chill briefly to set the surface. This makes your vintage piping much easier and cleaner!
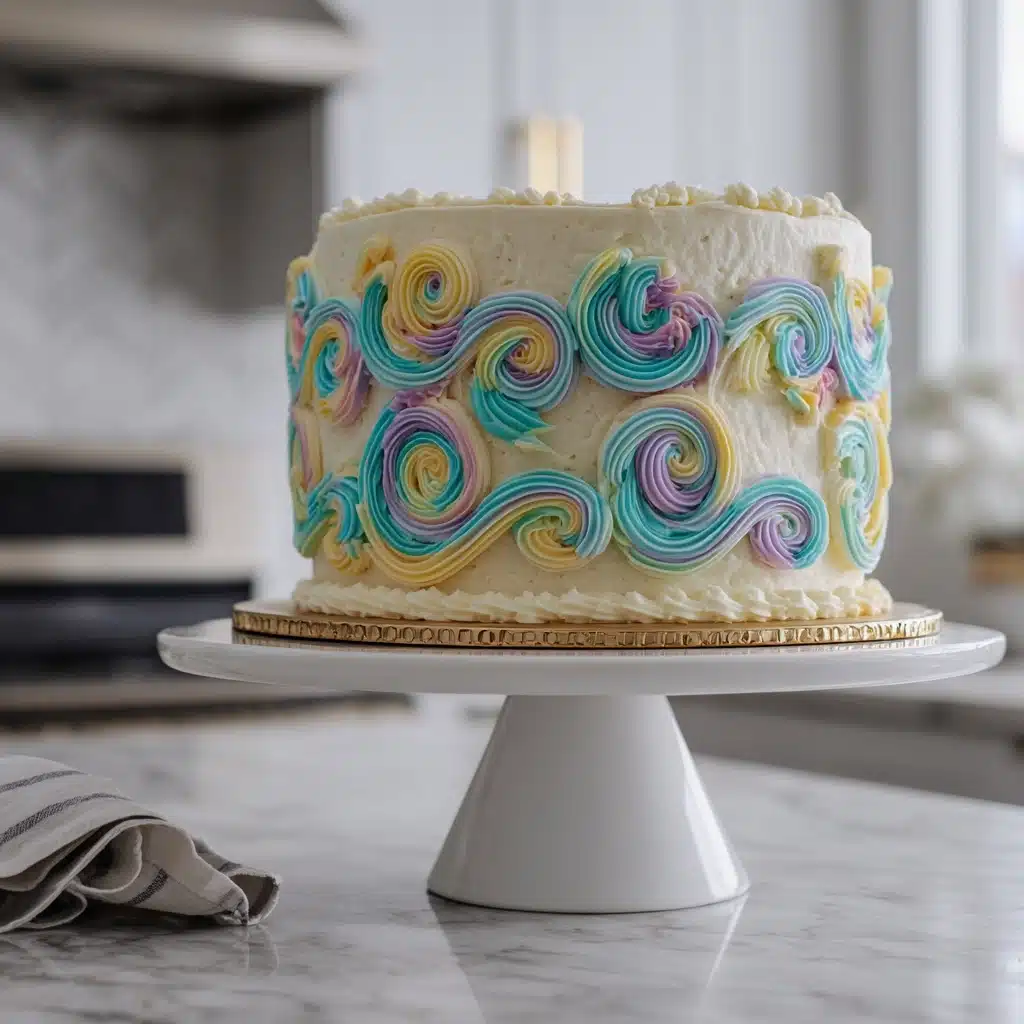
Step 8: Vintage Piping Magic
Now the fun truly begins! Add pastel-tinted buttercream to piping bags fitted with assorted star and drop tips. Pipe classic swags, rosettes, and ruffles in a playful, vintage design. This final step turns your White Velvet Cake with Vintage Piping into a true centerpiece, worthy of the prettiest dessert table.
How to Serve White Velvet Cake with Vintage Piping
Garnishes
A White Velvet Cake with Vintage Piping is already a feast for the eyes, but you can up the romance with a sprinkle of edible pearls, candied violets, or a dusting of edible glitter. These extra touches capture the magic of a bygone era and will wow any guest before the first forkful.
Side Dishes
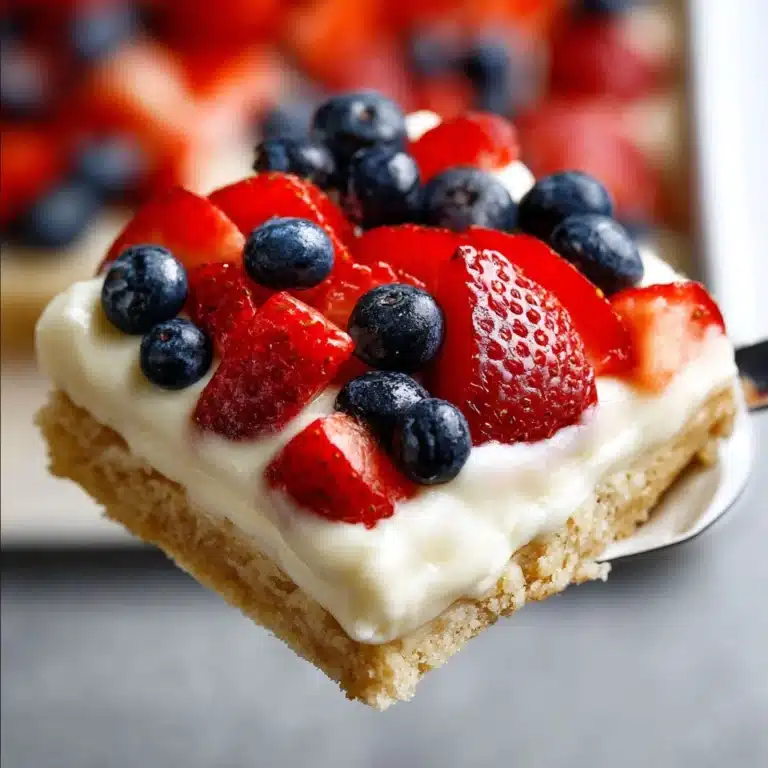
Pair each slice with a scoop of homemade vanilla bean ice cream or a dollop of softly whipped cream for full-on indulgence. For a lighter moment, serve with a handful of fresh berries on the side—the tartness is the perfect match for the sweet, buttery cake.
Creative Ways to Present
Let the artistry shine by displaying your White Velvet Cake with Vintage Piping on a glass cake stand or an antique platter. If you want whimsy, slice the cake into small rectangles and serve as “petit fours.” Or, for afternoon tea, offer slender wedges on delicate china plates for a vintage tea party feel.
Make Ahead and Storage
Storing Leftovers
Store any leftover White Velvet Cake with Vintage Piping in an airtight container at room temperature for up to two days, or in the fridge for up to five. To keep the cake moist and the buttercream piping pristine, gently press a piece of plastic wrap against any cut surfaces.
Freezing
Both cake layers and finished slices freeze beautifully! Wrap the uniced cake layers tightly in plastic wrap and store in a zip-top bag for up to two months. For frosted slices, arrange them in a single layer, freeze until firm, then wrap—just know that intricate piping will stay prettiest if frozen immediately after decorating.
Reheating
For that freshly-baked taste, let frozen slices come to room temperature over several hours. If you crave a warm piece, pop a slice in the microwave for just 8-10 seconds (any longer and the buttercream loses its shape). Always serve at room temperature to let those mellow vanilla notes shine.
FAQs
Can I use all-purpose flour instead of cake flour?
Absolutely! If you don’t have cake flour on hand, use all-purpose flour, but swap out two tablespoons per cup for cornstarch to mimic the texture. The crumb might be a little less delicate, but your White Velvet Cake with Vintage Piping will still be a delight.
How do I achieve the perfect vintage piping effects?
The key is to use pastel-colored, medium-stiff buttercream and practice basic Lambeth piping techniques with star and drop tips. Practice a few swirls and dots on parchment before decorating your cake—consistency is more important than perfection, and little imperfections add charm!
Is there a substitute for buttermilk?
Yes! If you don’t have buttermilk, simply mix a cup of milk with a tablespoon of lemon juice or white vinegar and let it sit for 5 minutes. This quick fix brings the same subtle tang and rise to your White Velvet Cake with Vintage Piping.
Can I make the cake ahead for a party?
Definitely! Bake the cake layers a day ahead, and store them tightly wrapped at room temperature. Decorate with buttercream and do your vintage piping on the day you plan to serve for the freshest look and flavor.
What if I don’t have piping tips?
No worries! Snip the end off a sturdy zip-top bag and create simple dots and lines. While classic piping tips yield those signature vintage designs, you can absolutely craft a stunning White Velvet Cake with Vintage Piping using whatever tools you have on hand.
Final Thoughts
There’s just something magical about bringing a White Velvet Cake with Vintage Piping to the table—it feels like stepping into a dreamy afternoon tea or a fanciful garden party. Give it a try and let yourself play with the decorations; every cake is a little piece of edible art! I can’t wait for you to share your own gorgeous take on this sweet tradition.
PrintWhite Velvet Cake with Vintage Piping Recipe
Indulge in the exquisite charm of a white velvet cake adorned with vintage-style buttercream piping. This soft and tender dessert is a delightful blend of texture and romance.
- Prep Time: 30 minutes
- Cook Time: 30 minutes
- Total Time: 1 hour
- Yield: 12 slices 1x
- Category: Dessert
- Method: Baking
- Cuisine: American
- Diet: Vegetarian
Ingredients
Dry Ingredients:
- 2½ cups cake flour
- 1 tbsp cornstarch
- 1 tsp baking powder
- ½ tsp baking soda
- ½ tsp salt
Wet Ingredients:
- ½ cup butter, softened
- 1½ cups sugar
- 3 egg whites
- 1 cup buttermilk
- 1 tsp vanilla extract
Buttercream for Piping:
- Tinted in pastels
Instructions
- Preheat Oven: Preheat oven to 350°F (175°C) and grease two 8″ round pans.
- Mix Dry Ingredients: Combine cake flour, cornstarch, baking powder, baking soda, and salt. Beat butter and sugar until fluffy.
- Add Wet Ingredients: Gradually add egg whites, then alternate adding flour mixture and buttermilk. Mix in vanilla extract.
- Bake: Pour batter into pans and bake for 25–30 minutes. Allow to cool before frosting.
- Decorate: Use classic Lambeth piping techniques with star and drop tips to adorn the cake.
Nutrition
- Serving Size: 1 slice
- Calories: 350 kcal
- Sugar: 23g
- Sodium: 320mg
- Fat: 12g
- Saturated Fat: 7g
- Unsaturated Fat: 4g
- Trans Fat: 0g
- Carbohydrates: 55g
- Fiber: 1g
- Protein: 5g
- Cholesterol: 35mg
Keywords: #whitevelvetcake #rococorevival #vintagecake #lambethpiping #buttercreamborders #whitekitchen #marbleplating #pastelcake #pinterestbaking #romanticdessert #styledcake #fancybakes #cakeartistry #cakeinspo #modernvintage #decorativecake #pasteldream #elegantplating #layercake #classicbakes