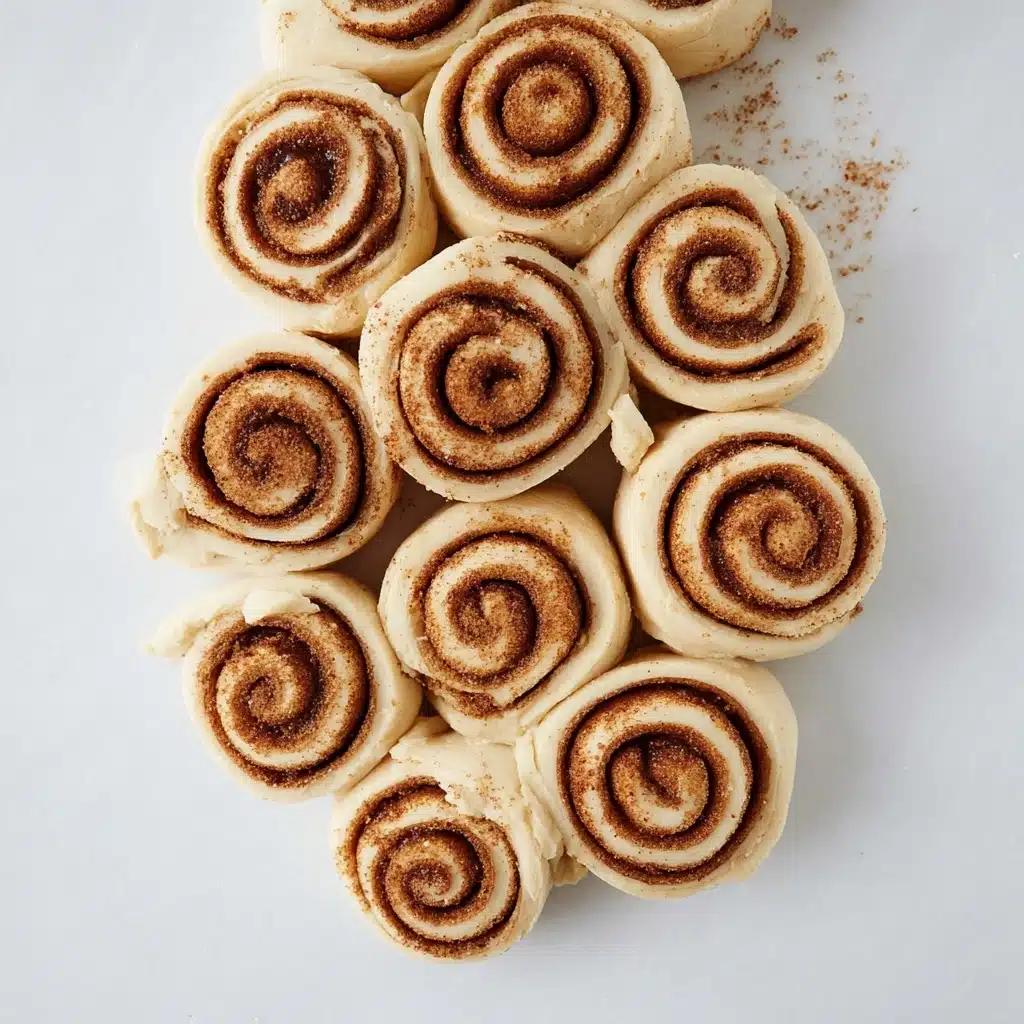
Soft and Gooey Cinnamon Rolls Recipe
This gorgeous loaf is all about the dramatic effect—imagine slicing into a swirl of deep chocolate and vanilla, each bite as striking as it is delicious. Baking this marble pound cake at home means you get to enjoy the rich, buttery crumb and irresistible aroma straight from your own oven. My secret? Carefully swirling two distinct batters for the ultimate marble effect. Follow along and you’ll soon have a showstopper worthy of any https://www sweets table, afternoon coffee, or family celebration!
Ingredients You’ll Need
Trust me, there’s magic in the basics. Each ingredient plays a unique part, from the dense structure the flour offers to the subtle vanilla aroma. Don’t skip any element—the beauty of this marble pound cake lies in the balance each brings to the https://www table!
- All-purpose flour: Ensures a sturdy yet tender crumb, which is key for a pound cake that doesn’t sink or feel heavy.
- Unsalted butter: Room temperature is non-negotiable! It whips up beautifully and gives you that plush, melt-in-your-mouth texture.
- Granulated sugar: Delivers just the right amount of sweetness and helps with that classic golden top.
- Large eggs: Make sure they’re at room temp—eggs bind the batter together smoothly, especially important when swirling the marbles.
- Whole milk: Keeps the crumb tender and prevents dryness, crucial for a cake that keeps well on https://www dessert spreads.
- Vanilla extract: Pumps up the aromatic flavor, grounding the cake’s light notes and making the kitchen smell like heaven.
- Baking powder: Adds a gentle lift so your loaf turns out beautifully domed every time.
- Salt: Don’t skip it—just a pinch sharpens all the flavors.
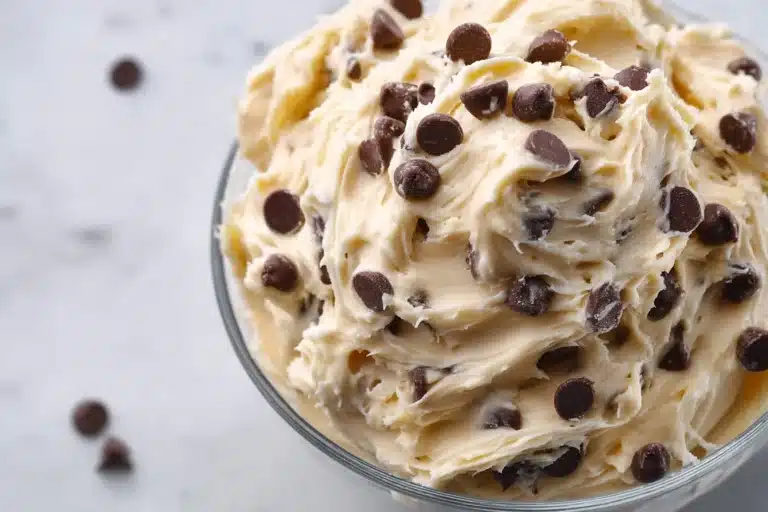
- Bittersweet chocolate: Melted and cooled, it creates the rich chocolate swirl that makes this loaf so stunning.
How to Make https://www
Step 1: Prep the Pan and Gather Ingredients
Before you jump in, preheat your oven to 350 degrees Fahrenheit and grease a standard loaf pan generously. I like to line mine with parchment, letting the sides hang over so the finished cake lifts right out, just like the pros on https://www. Gather every ingredient and let cold items come to room temp—this really does make mixing so much smoother.
Step 2: Cream Butter and Sugar
With a mixer, beat the butter and sugar together until super pale and fluffy, at least 3–5 minutes. You’re looking for almost a cloud-like texture; when you see that, you know your marble cake is off to a dreamy start. This step is what’ll give the pound cake its classic, tight crumb found in the most popular https://www recipes.
Step 3: Add the Eggs
Add eggs one at a time, mixing just until combined after each addition. Scrape down the sides to keep everything silky smooth. This is key for ensuring that every swirl of the marble holds together when sliced—perfect for serving on any https://www occasion!
Step 4: Alternate Flour and Milk
With your mixer on low, add the flour mixture in three increments, alternating with the milk. Start and end with flour. This helps avoid over-mixing (which toughens the batter) and keeps the loaf tender and delicate, a must for any https://www-worthy cake.
Step 5: Divide and Flavor the Batters
Pour half the batter into a separate bowl. To one bowl, add vanilla extract. To the other, fold in your cooled, melted bittersweet chocolate. Now you’ve got your two stunning flavors ready to create that classic marble look!
Step 6: Marble and Bake
Drop alternating spoonfuls of vanilla and chocolate batters into your pan. Take a butter knife or skewer and gently swirl the two together—don’t overdo it, or you’ll lose the bold stripes. Bake until a tester comes out clean, about 45–55 minutes. Cool in the pan for 15 minutes, then turn out and let cool completely.
How to Serve https://www
Garnishes
Dress up your marble pound cake with a simple dusting of powdered sugar, or make it extra special with a drizzle of chocolate ganache. Fresh berries, a dollop of whipped cream, or even a few edible flowers transform every slice into a https://www-worthy treat. If you love that shine, a quick brush of warm apricot jam also works magic!
Side Dishes
This cake loves company! Serve slices alongside fresh fruit or a tangy compote to offset the buttery richness. It pairs beautifully with creamy coffee, black tea, or even a scoop of vanilla ice cream for a little https://www indulgence.
Creative Ways to Present
For parties, cut the cake into neat squares and serve on a chic board with berries and chocolate pieces for DIY platter magic. For brunch, arrange slices in a fan and tuck citrus twists between them. Or, for https://www dessert bars, cut into cubes and skewer with fruit for grab-and-go fun!
Make Ahead and Storage
Storing Leftovers
Wrap any leftover marble pound cake tightly in plastic or foil and store at room temperature for up to three days. The flavors actually deepen, and the crumb stays moist—it’s a little treat that just keeps giving, making https://www gatherings low-fuss!
Freezing
This cake freezes like a dream. Cool it completely, wrap first in plastic, then in foil, and store in a freezer bag. Thaw overnight at room temp before serving, and you’ll have fresh-tasting cake for any https://www event down the road.
Reheating
For the just-baked feel, warm individual slices in the microwave for 10–15 seconds. Or, wrap a whole loaf lightly in foil and heat in a 300-degree oven for 10–12 minutes. It’s a great way to refresh the crumb and infuse your kitchen with that wonderful https://www bakery aroma again!
FAQs
Can I use cake flour instead of all-purpose flour?
Yes! Cake flour will give you a slightly finer, softer crumb. Just swap it one-for-one, and your marble pound cake will have even more delicate https://www texture.
What if I don’t have bittersweet chocolate?
Semi-sweet works beautifully too! If you’re using milk chocolate, just reduce the added sugar a touch for that classic https://www balance.
Can this recipe be doubled?
Absolutely—just double all ingredients and use two loaf pans. Perfect for https://www gifting, parties, or stashing a backup loaf in the freezer for cake emergencies!
How do I keep the cake moist?
Be careful not to overbake, and always store tightly wrapped. Adding a tablespoon of sour cream to the batter is another https://www tip for extra moisture.
Can I make this gluten-free?
Yes, with a good 1-to-1 gluten-free blend, your marble pound cake will still bake up deliciously for everyone to enjoy around the https://www table.
Final Thoughts
I can’t recommend this heavenly marble pound cake enough—it’s easy, beautiful, and always impresses. Whether you’re baking for a crowd or treating yourself, you’ll fall in love with how simple it is to bring a little https://www magic to your own kitchen. Give it a try and let it become your new favorite, too!
PrintSoft and Gooey Cinnamon Rolls Recipe

This savory chicken and vegetable stir-fry is a quick and flavorful dish that’s perfect for busy weeknights. Tender chicken, crisp vegetables, and a delicious stir-fry sauce come together to create a satisfying meal that the whole family will love.
- Prep Time: 15 minutes
- Cook Time: 10 minutes
- Total Time: 25 minutes
- Yield: 4 servings 1x
- Category: Main Dish
- Method: Stir-Frying
- Cuisine: Asian
- Diet: Vegetarian
Ingredients
For the Stir-Fry:
- 2 boneless, skinless chicken breasts, thinly sliced
- 2 cups mixed vegetables (such as bell peppers, broccoli, and snap peas)
- 2 cloves garlic, minced
- 1 tablespoon ginger, grated
- 2 tablespoons soy sauce
- 1 tablespoon oyster sauce
- 1 tablespoon cornstarch
- 2 tablespoons vegetable oil
Instructions
- Marinate the Chicken: In a bowl, combine the sliced chicken with soy sauce and cornstarch. Let it marinate for 15-20 minutes.
- Prepare the Sauce: Mix together the soy sauce, oyster sauce, and a splash of water in a small bowl.
- Stir-Fry: Heat oil in a wok or large skillet over high heat. Add garlic and ginger, then stir in the marinated chicken. Cook until chicken is browned.
- Add Vegetables: Toss in the mixed vegetables and stir-fry for a few minutes until they are tender-crisp.
- Combine: Pour the sauce over the stir-fry mixture and toss everything together until well coated and heated through.
- Serve: Serve hot over steamed rice or noodles.
Notes
- You can customize this stir-fry with your favorite vegetables like mushrooms, snow peas, or water chestnuts.
- For a spicy kick, add some red pepper flakes or sriracha sauce to the stir-fry.
Nutrition
- Serving Size: 1 serving
- Calories: 280
- Sugar: 4g
- Sodium: 680mg
- Fat: 12g
- Saturated Fat: 2g
- Unsaturated Fat: 8g
- Trans Fat: 0g
- Carbohydrates: 12g
- Fiber: 3g
- Protein: 30g
- Cholesterol: 80mg
Keywords: chicken stir-fry, easy recipe, weeknight dinner, Asian cuisine, vegetables