Christmas Cherry Bars Recipe
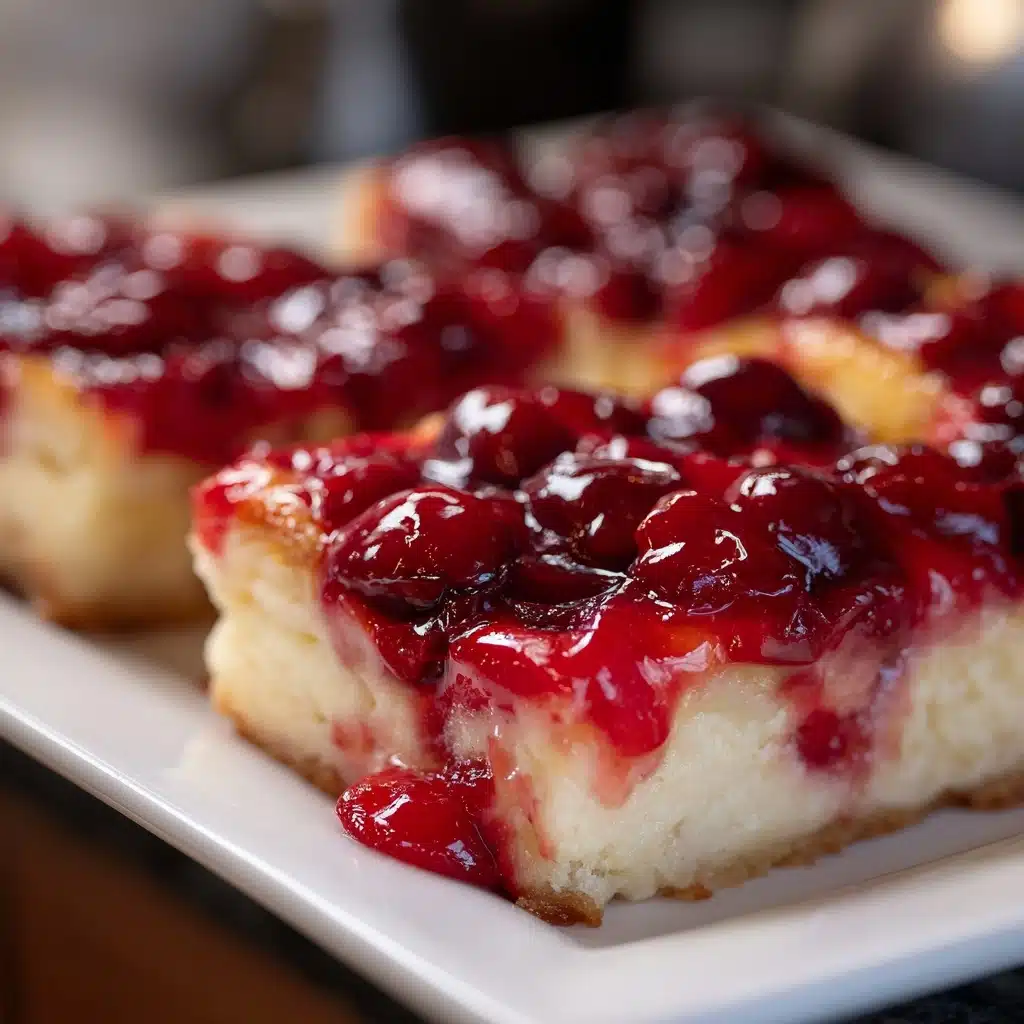
There’s nothing quite like Christmas Cherry Bars to usher in the warmth and merriment of the holiday season! Imagine tender, buttery layers cradling sweet-tart cherry filling, finished with that dreamy dusting of powdered sugar. These bars are pure holiday nostalgia in every bite—easy enough for a festive weeknight treat, yet elegant enough for your fanciest holiday tray. Whether you share them around a twinkling tree or deliver a plateful to neighbors, Christmas Cherry Bars will always steal the show.
Ingredients You’ll Need
Let’s take a moment to appreciate how simple but blissfully effective these ingredients are. Every element serves a purpose, helping the Christmas Cherry Bars achieve the right balance of richness, flaky texture, and gorgeous color. When you use quality basics, delicious things happen.
- Butter, softened: Start with room temperature butter for that supremely tender, melt-in-your-mouth crust and topping.
- Sugar: Classic granulated sugar is essential for sweetening both the dough and guaranteeing a chewy crumb.
- Eggs: These help bind everything together, creating a moist and cohesive bar that slices beautifully.
- Vanilla extract: A splash of vanilla rounds out the flavors and gives a homey aroma.
- All-purpose flour: The backbone of the bars, providing structure while allowing them to stay soft and light.
- Baking powder: Just enough to help the bars rise slightly and stay tender, never dense.
- Salt: Don’t skip it—it wakes up all the other flavors and keeps the sweetness in check.
- Cherry pie filling: The star of the show delivers that brilliant pop of color and festive sweetness—be generous!
- Powdered sugar, for dusting: The finishing touch that transforms your bars into a winter wonderland.
How to Make Christmas Cherry Bars
Step 1: Preheat and Prepare the Pan
First things first, get your oven heating to 350°F (175°C) and grease a 10×15-inch pan. This ensures even baking and easy removal—the bigger size is perfect for sharing, which is what Christmas Cherry Bars are all about!
Step 2: Cream Together the Butter and Sugar
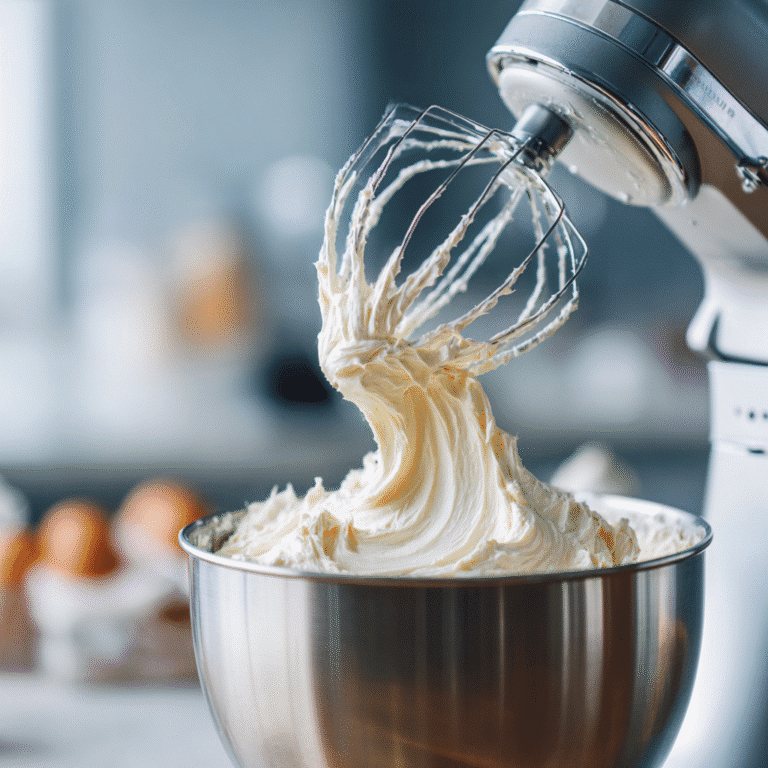
In a large bowl, beat the softened butter together with the sugar until the mixture becomes pale and fluffy. This step adds air, setting the stage for that signature light, tender base. Take your time here—the better you cream, the better your bars will turn out.
Step 3: Add Eggs and Vanilla
Add the eggs one at a time, mixing well after each addition, then pour in the vanilla extract. Mixing them individually helps maintain a smooth, luscious batter, so the Christmas Cherry Bars stay moist but never gummy.
Step 4: Incorporate Dry Ingredients
In a separate bowl, whisk together the flour, baking powder, and salt. Gradually add this to the wet mixture, mixing until just combined. The dough will be thick—don’t worry, that’s exactly what you want for both the bottom layer and those rustic dollops on top.
Step 5: Assemble the Bars
Spread about two-thirds of the batter evenly into your prepared pan—it might help to use an offset spatula for smoothness. Spoon the cherry pie filling over the dough, spreading it edge to edge. Then, drop the remaining batter by heaping spoonfuls across the top for a charming peek-a-boo effect that lets those vibrant cherries shine through.
Step 6: Bake to Perfection
Bake the bars in the preheated oven for 35 to 40 minutes, or until the top is lightly golden and the edges just start to pull away from the pan. The aroma will be mouthwatering! Cool completely on a wire rack—you’ll want them to firm up before slicing.
Step 7: Dust and Slice
Once cool, shower the bars generously with powdered sugar. Cut into even squares or bars. Watch everyone’s eyes light up when you serve these irresistible Christmas Cherry Bars!
How to Serve Christmas Cherry Bars
Garnishes
A generous snowfall of powdered sugar is classic, but you can also sprinkle on some finely chopped pistachios or slivered almonds for an extra festive look. If you’re feeling fancy, a drizzle of white chocolate or a few fresh cherry halves can transform your Christmas Cherry Bars into a showstopper.
Side Dishes
These bars are divine on their own, but you can pair them with a scoop of vanilla ice cream or a dollop of whipped cream for true dessert bliss. Around the holidays, they taste magical next to a mug of hot cocoa or spiced cider—perfect for cozying up with friends and family.
Creative Ways to Present
Try cutting them into bite-sized squares to stack on a tiered dessert tray, or wrap individual Christmas Cherry Bars in festive cellophane and ribbon for delightful homemade gifts. You can even layer them with parchment paper in a decorative tin for a charming hostess present that’s guaranteed to impress.
Make Ahead and Storage
Storing Leftovers
To keep your Christmas Cherry Bars fresh, store them in an airtight container at room temperature for up to three days. They hold up well and tend to get even more flavorful with a bit of time, making them a fantastic make-ahead holiday treat.
Freezing
If you’re planning ahead (or perhaps trying to hide a secret stash for yourself), Christmas Cherry Bars freeze beautifully! Toss cooled, cut bars between layers of parchment in a freezer-safe container. They’ll keep for up to two months—just thaw at room temp whenever a cherry craving strikes.
Reheating
If you’d like to serve your bars warm, just pop them in a 300°F oven for 5 to 8 minutes, or give individual bars a quick 10-15 second zap in the microwave. The aroma and taste will be just as enticing as the day you baked them!
FAQs
Can I use homemade cherry pie filling instead of canned?
Absolutely! If you have a great homemade cherry filling recipe, go for it. The flavor will be even more vibrant and the bars will taste extra special. Just be sure your filling isn’t too runny, so it doesn’t make the base soggy.
What’s the best way to cut clean squares?
Make sure the bars are completely cool before cutting, and use a sharp, damp knife to prevent sticking. Wiping the blade between cuts keeps those Christmas Cherry Bars looking bakery-perfect.
Can I make this recipe gluten free?
Yes! Simply swap the all-purpose flour for your favorite gluten-free flour blend. Just make sure it’s a 1-to-1 substitute, and double check your cherry filling for any surprise gluten-containing ingredients.
How long will Christmas Cherry Bars stay fresh?
If stored properly in an airtight container, your bars will stay fresh at room temperature for up to three days. In the fridge or freezer, they’ll last even longer without losing any of their delicious charm.
Do I have to use a 10×15 inch pan?
A 10×15-inch pan is ideal for yielding thinner, easy-to-share bars. However, you can use a 9×13 pan for slightly thicker, cakier results—just keep a close eye on the baking time and be prepared for a dreamy, decadent version!
Final Thoughts
If you’re searching for that perfect sweet, nostalgic bite to light up your holiday gatherings, you absolutely have to try making Christmas Cherry Bars. They’re simple, beautiful, and overflowing with festive flavor—sure to become a cherished tradition. Grab your apron and let’s make this season even sweeter!
PrintChristmas Cherry Bars Recipe
These Christmas Cherry Bars are a delightful holiday treat with a buttery base, sweet cherry filling, and a dusting of powdered sugar. Perfect for festive gatherings and seasonal celebrations.
- Prep Time: 20 minutes
- Cook Time: 40 minutes
- Total Time: 1 hour
- Yield: 24 bars 1x
- Category: Dessert
- Method: Baking
- Cuisine: American
- Diet: Vegetarian
Ingredients
For the Base:
- 1 cup butter, softened
- 1¾ cups sugar
- 4 eggs
- 1 tsp vanilla extract
- 3 cups all-purpose flour
- 1½ tsp baking powder
- ½ tsp salt
Additional:
- 1 can cherry pie filling (21 oz)
- Powdered sugar, for dusting
Instructions
- Preheat oven and prepare pan: Preheat the oven to 350°F (175°C) and grease a 10×15-inch pan.
- Cream butter and sugar: In a mixing bowl, cream together the butter and sugar. Add eggs and vanilla, mixing well.
- Prepare batter: In a separate bowl, combine flour, baking powder, and salt. Add this dry mixture to the wet ingredients and mix until well combined.
- Assemble the bars: Spread two-thirds of the batter into the prepared pan. Spoon the cherry pie filling evenly over the batter. Drop spoonfuls of the remaining batter on top of the cherry filling.
- Bake: Bake in the preheated oven for 35–40 minutes, or until the bars are golden brown.
- Cool and serve: Allow the bars to cool completely in the pan. Dust with powdered sugar before cutting into squares and serving.
Nutrition
- Serving Size: 1 bar
- Calories: 240
- Sugar: 18g
- Sodium: 160mg
- Fat: 9g
- Saturated Fat: 5g
- Unsaturated Fat: 3g
- Trans Fat: 0g
- Carbohydrates: 37g
- Fiber: 1g
- Protein: 3g
- Cholesterol: 55mg
Keywords: Christmas, Cherry Bars, Holiday Baking, Festive Desserts


