Bumpy Cake Recipe
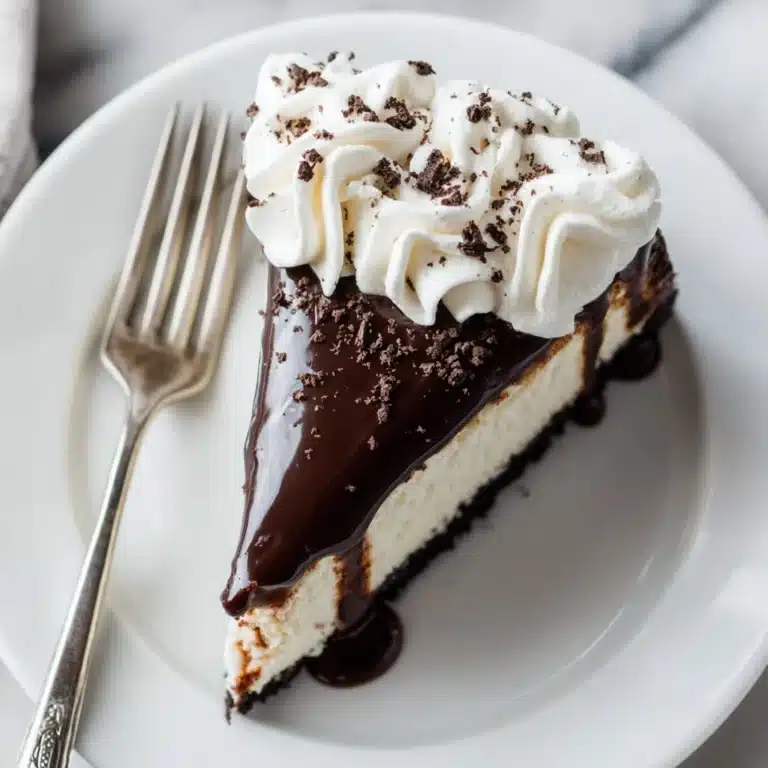
Bumpy Cake is the ultimate showstopper for anyone who adores a little whimsy with their chocolate fix. Imagine a luscious, tender chocolate sheet cake as your base, studded with playful swirls of vanilla buttercream “bumps,” all generously draped in a silky chocolate ganache that sets to a perfect, glossy finish. Every bite delivers a surprise of flavors and textures—there’s the rich, moist cake, airy buttercream, and melt-in-your-mouth ganache. Bumpy Cake isn’t just dessert, it’s a conversation starter for your next gathering and an edible invitation to have a little fun with your home baking.
Ingredients You’ll Need
Gathering the right ingredients for Bumpy Cake is wonderfully simple, but the key is using the best you can find for each—these elements layer together for the flavor and texture fireworks that make this cake unforgettable.
- All-purpose flour: Provides the foundational structure for the chocolate cake, ensuring it’s soft but holds together beautifully.
- Unsweetened cocoa powder: Delivers deep, true chocolate flavor and that invitingly dark hue.
- Granulated sugar: Sweetens the cake just right without overpowering the chocolate.
- Baking powder: Gives your cake the lift it needs for a tender, light crumb.
- Baking soda: Balances the acidity of cocoa and adds extra rise to the cake.
- Salt: Enhances all the other flavors—don’t skip it!
- Milk (dairy or plant-based): Makes the cake moist and helps blend everything smoothly—use whole milk for maximum richness.
- Vegetable oil: Keeps the crumb soft and moist even after chilling.
- Large eggs: Bind the batter and add richness and structure to every bite.
- Vanilla extract: Infuses warmth and rounds out both cake and buttercream flavors.
- Unsalted butter: The star of the buttercream, bringing creamy texture and subtle sweetness.
- Powdered sugar: Makes the buttercream smooth, fluffy, and easy to pipe or scoop into those signature bumps.
- Heavy whipping cream: Essential for velvety ganache with a dreamy, pourable consistency.
- Semisweet chocolate chips: Use your favorite—they melt into a glossy, not-too-sweet ganache that ties every layer together.
How to Make Bumpy Cake
Step 1: Prep and Preheat
Start by preheating your oven to 350°F (175°C). Line a 9×9-inch square baking pan with parchment paper, letting the sides hang over a little for easy removal—trust me, this will make serving neat squares of Bumpy Cake a breeze later.
Step 2: Mix Dry Ingredients
In a large mixing bowl, whisk together the flour, unsweetened cocoa powder, granulated sugar, baking powder, baking soda, and salt. The cocoa blends best with the flour, helping prevent lumps and ensuring the rich chocolate flavor is perfectly balanced in every corner of the cake.
Step 3: Blend Wet Ingredients
In a separate bowl, whisk the milk, vegetable oil, eggs, and vanilla extract until combined. Pour this mixture into your bowl of dry ingredients and stir until the batter is smooth—don’t overmix, just enough so you don’t see any streaks of flour. Your batter should look glossy and thick but pourable.
Step 4: Bake
Pour your batter into the prepared pan, spreading evenly to the edges. Bake for 25–30 minutes; use a toothpick to check if it comes out with just a crumb or two. Let the cake cool completely in the pan on a wire rack—this keeps it moist and makes assembly easier.
Step 5: Make the Buttercream Bumps
Beat the softened butter, powdered sugar, milk, and vanilla extract until the mixture is light, fluffy, and holds gentle peaks. Use a melon baller or a small teaspoon to drop creamy dollops of buttercream across the cooled cake, in neat rows about 1 inch apart. You should get roughly 16 charming bumps—each bite will be let’s-try-to-get-a-bump special! Transfer the cake to the fridge and chill for 15–20 minutes so the buttercream holds its shape.
Step 6: Create the Ganache
Heat the heavy whipping cream in a small saucepan or the microwave just until it starts to simmer (don’t let it boil). Pour the hot cream over your chocolate chips in a bowl and let it sit for 2 minutes, then stir until smooth, shiny, and satiny. Allow the ganache to cool for a few minutes, so it thickens slightly but is still pourable.
Step 7: Ganache and Finish
Pour the ganache slowly over the buttercream bumps, using a spatula or the side of a spoon to gently nudge it so it flows evenly, blanketing each bump and filling the gaps. Pop the pan back in the fridge for about 30 minutes, just until the ganache is set and glossy. Your Bumpy Cake is now ready to slice into perfect squares!
How to Serve Bumpy Cake
Garnishes
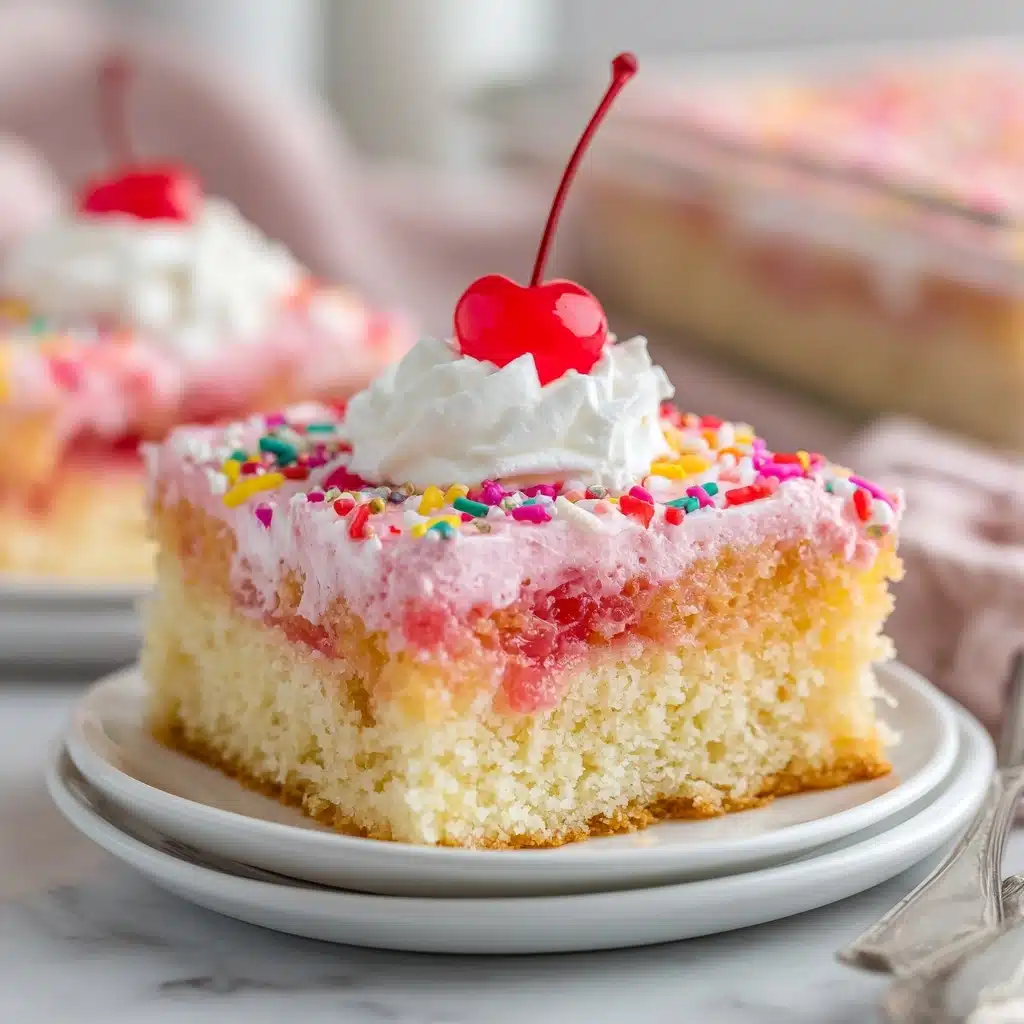
A dusting of cocoa powder, a sprinkle of chocolate curls, or even a scatter of rainbow sprinkles each bring a fun finishing touch to Bumpy Cake. If you want to lean into elegance, a few edible flowers or gold leaf flecks will make those glossy bumps stand out at any party table.
Side Dishes
Serve each square with a scoop of vanilla bean ice cream or a dollop of whipped cream for a classic pairing. Fresh berries (like raspberries or strawberries) are lovely alongside Bumpy Cake, cutting through the richness and making each bite feel even more celebratory.
Creative Ways to Present
Bumpy Cake loves a dramatic entrance! Try slicing it into mini bite-size pieces for a dessert platter, use the bumps as “mountains” for candy toppers at a kids’ party, or plate larger squares stacked slightly off-center for a modern, artistic effect. However you serve it, those signature bumps are sure to get smiles.
Make Ahead and Storage
Storing Leftovers
Leftover Bumpy Cake keeps well covered in the fridge for up to 4 days; the ganache and buttercream stay luscious and the cake remains tender. Use the parchment overhang to gently lift out any remaining cake and cover with plastic wrap or store in an airtight container.
Freezing
To freeze, slice the cake into individual squares, arrange in a single layer on a tray, and freeze until firm. Once solid, wrap each piece tightly and store in a freezer-safe bag or container for up to 2 months. Thaw slices in the fridge overnight—expect the texture and flavors to hold up beautifully!
Reheating
If you like your Bumpy Cake a bit warmer (and gooier), just let a square sit at room temperature for 20–30 minutes or pop it in the microwave for 8–10 seconds. Don’t overheat, as the buttercream and ganache can melt quickly.
FAQs
Can I make Bumpy Cake ahead of time?
Absolutely! Bumpy Cake is actually perfect for making a day in advance—the flavors meld and the texture gets even more dreamy as it sits. Just keep it chilled until you’re ready to serve for the best results.
Can I substitute the buttercream with cream cheese frosting?
You can swap the vanilla buttercream for a cream cheese frosting if you like a tangier kick. Just know the texture of the bumps will be a touch softer, so chill them a little longer before adding the ganache.
How do I keep the buttercream bumps from melting when pouring the ganache?
Always chill the cake with the bumps in place for at least 15–20 minutes before you finish with ganache. Also, make sure your ganache has cooled slightly but is still fluid, so it won’t melt the buttercream but will flow smoothly over the bumps.
What’s the best way to slice Bumpy Cake cleanly?
Run a sharp knife under hot water, wipe it dry, and make each cut in one smooth motion. This helps you get those eye-catching squares without crushing the buttercream or dragging the ganache.
Do I have to use a 9×9-inch pan?
While a 9×9-inch pan gives you perfect proportions for tall bumps and moist cake, you can bake Bumpy Cake in an 8×8 pan for thicker squares or double the recipe for a 9×13 party-sized cake—just keep an eye on bake time!
Final Thoughts
I genuinely hope you’ll give Bumpy Cake a try the next time you crave something a little playful, a little decadent, and totally unforgettable. It’s a dessert that guarantees joy and great conversation, all wrapped up in those irresistible bumps!

